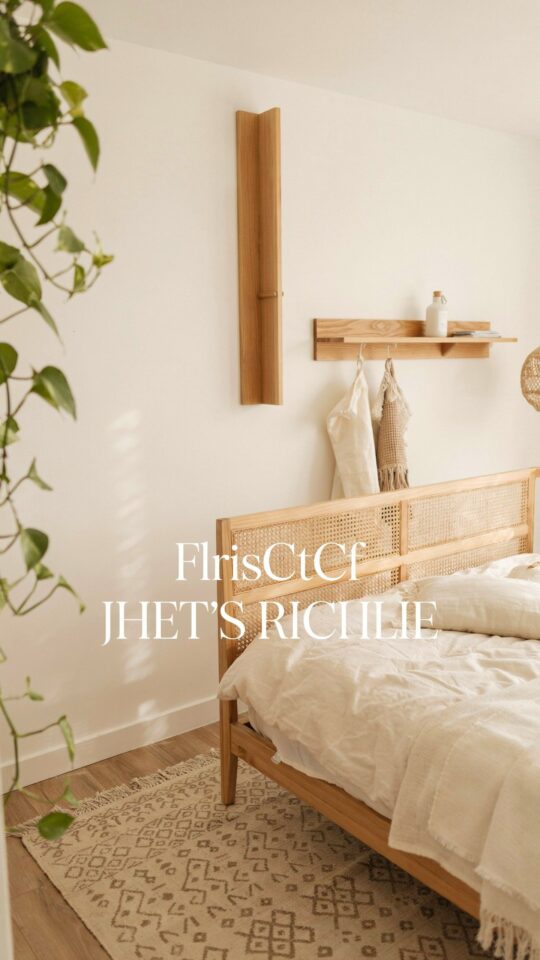
Looking for a budget DIY floating shelf tutorial that actually looks good and doesn’t cost a fortune? You are in the right place. Floating shelves are one of the easiest ways to update a room without spending much money, and with a little creativity, you can build something stylish using materials you might already have around the house. In this post, I have rounded up seven different themed ideas for building your own shelves, so you can pick the one that fits your space, your skill level, and your budget. Each section covers a specific style or technique, with practical tips I have learned from making these shelves myself.
Scrap Wood Floating Shelves: Free Materials, Modern Look
If you have leftover wood from a previous project or can grab a few old boards from a friend, you can make a floating shelf for basically zero dollars. Scrap wood works great because you can cut it to whatever size you need, and the imperfections give the shelf character. I once built a set of three shelves using pallet wood that I sanded down and stained dark walnut. They looked like expensive reclaimed wood shelves, but the only cost was the stain and some sandpaper.
Here is what you need to know for scrap wood shelves:
- Choose pieces that are at least 3/4 inch thick so they don’t bow under weight.
- Sand well and seal with a clear coat or paint to prevent splinters.
- Use a simple cleat system (a piece of wood screwed into the wall, with the shelf sliding over it) for a clean floating look.
- Mix different wood tones on the same wall for a collected, eclectic vibe.
This approach is perfect if you want a modern, rustic look and love the idea of repurposing materials. It is also the most affordable room makeover trick I know.
DIY Ledge Shelf: Simple, Fast, and Perfect for Small Bedrooms
A ledge shelf is just a narrow platform that sticks out a few inches from the wall. It is incredibly easy to build and ideal for a bedroom makeover when you need a spot for framed photos, small plants, or a phone charger. I made two ledge shelves for my daughter's tiny bedroom last year, and they completely changed the feel of the room without taking up any floor space.
For a ledge shelf, you only need one board (or two if you want a lip on the front). Cut it to length, sand the edges, and attach it to the wall using heavy-duty picture hangers or a French cleat. The best part is that this project takes less than an hour from start to finish. If you are looking for an easy weekend DIY tutorial, this is it.
Box Shelf: Extra Storage Without the Bulk
A box shelf is essentially a hollow cube that you mount on the wall. It looks like a little cubby and gives you a defined space to store books, small baskets, or decor. I built a set of three box shelves for my living room using plywood from the hardware store, and they cost me under $15 total. The key is to cut four pieces per shelf (top, bottom, two sides) and glue them together, then attach a back panel for strength.
Box shelves feel more substantial than a single board shelf, and they are great for holding heavier items because the structure distributes weight evenly. For a budget home decor project, you can use inexpensive pine plywood and paint it the same color as your wall for a seamless floating look. Just remember to anchor them into wall studs for safety.
Industrial Pipe Shelf: Under $10 with Maximum Style
If you like the industrial farmhouse trend, a pipe shelf is a fun and cheap option. You need a wooden plank and a few pieces of black iron pipe from the plumbing aisle. The pipes act as both the brackets and the decorative element. I built one for my son's room using a 1×6 board and a 10-inch pipe, and the total cost was about $8. The shelf holds his small Lego sets and looks way cooler than anything from a store.
To make a pipe shelf, screw the pipe flanges into the wall studs, attach the pipes to the flanges, and then lay the board on top of the pipes. You can also drill holes in the board and feed the pipes through for a more integrated look. This idea works especially well for a budget bedroom makeover if you want a masculine or industrial vibe. Plus, the pipes add a structural element that feels intentional.
Floating Corner Shelf: Use Awkward Wall Space
Corners are often wasted, but a floating corner shelf is a brilliant way to add storage and visual interest without taking up floor space. The trick is to cut a triangular board that fits snugly into the corner, then attach it with a
#DIYFloatingShelf #BudgetHomeDecor #BedroomMakeover #AffordableRoomMakeover #DIYTutorial
Leave a Comment