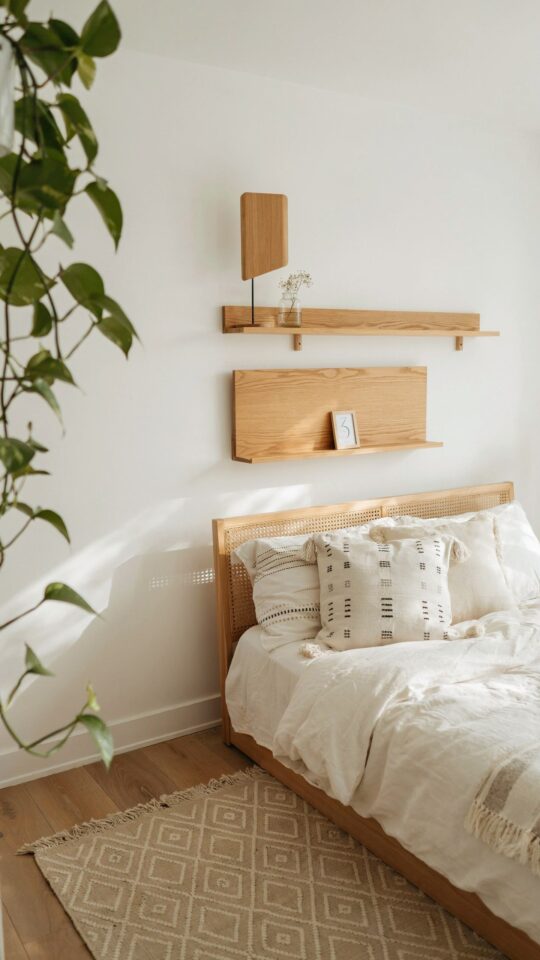
Choosing the Right Materials for a Budget Floating Shelf
When I decided to tackle this DIY floating shelf tutorial, my main goal was to keep costs under $30. I headed to the local hardware store and grabbed a 2×8 pine board, which is affordable and easy to cut. For the hidden support, I used simple L-brackets leftover from another project and a piece of scrap wood to act as a cleat. Here is exactly what I used:
- One 8-foot pine board (about $12)
- Two 6-inch L-brackets (around $4 total)
- Wood screws and drywall anchors ($5 pack)
- Sandpaper and wood stain ($10 for a small can)
- Measuring tape, level, and a circular saw (borrowed from a friend)
Total came to about $31, but you can go even cheaper if you already have stain or brackets. The key is picking a board that is straight and free of major knots. I made the mistake of grabbing a twisted one on my first attempt, and the shelf wobbled. So check your wood before buying.
Measuring and Cutting Your Shelf Board Like a Pro
I measured the wall space above my bed and decided on a 48-inch shelf. That gave me enough room to place a few books and a small plant. I marked the board at 48 inches and used a circular saw with a guide to keep the cut straight. If you don’s have a circular saw, you can ask the hardware store to cut it for you, usually for free. Just be sure to take your wall measurement with you. After cutting, I sanded the edges with 120-grit sandpaper until they felt smooth. Pine splinters easily, so I also rounded the corners a bit with the sandpaper. This step made the shelf look way more polished, like a $50 piece from a store.
How to Build a Strong Hidden Bracket System
I wanted the shelf to look truly floating, no visible brackets. So I created a cleat system using a piece of 2×4 and the L-brackets. First, I cut the 2×4 to the same length as the shelf, about 48 inches. Then I screwed two L-brackets onto the 2×4, spacing them 16 inches apart. This cleat would attach to the wall, and the shelf would slide over it. I pre-drilled holes in the back of the shelf board to fit over the screws sticking up from the cleat. It sounds complicated, but it is actually simple. Just make sure the cleat is perfectly level on the wall before you attach anything permanent. I used a level and marked the studs with a pencil to keep everything straight.
Attaching the Shelf to Your Wall Without a Stud (or With)
My bedroom wall had studs spaced 16 inches apart, but only one stud lined up perfectly with where I wanted the shelf. So I used toggle bolts for the other bracket holes. Toggle bolts are surprisingly strong for lightweight shelves. I drilled pilot holes for the toggle bolts and pushed the anchors through. Then I screwed the cleat into the wall, making sure to hit the stud with two heavy screws. For the toggle bolt holes, I tightened them until the cleat felt solid. I tested the cleat by pulling on it gently. It did not budge. If you are mounting a floating shelf for heavy items like books or electronics, always use at least one stud. But for a small display shelf, drywall anchors work fine.
Finishing Touches: Staining, Painting, and Styling
I chose a dark walnut stain to match my bed frame. Applying stain with a rag was the most satisfying part. I wiped it on, waited five minutes, and then wiped off the excess. The pine darkened into a warm brown that looked nothing like the cheap lumber it started as. If you want a painted finish, go for a matte white or a soft gray. I let the shelf dry overnight, then inserted it onto the cleat. It slid on perfectly and sat flush against the wall. For styling, I kept it minimal: three paperback books, a small succulent in a terracotta pot, and a framed photo. The shelf does not look cluttered, and it adds storage without overwhelming the wall. Try balancing your items by height, putting the tallest on one end and the shortest on the other.
Cost Breakdown: What I Spent on This Bedroom Makeover
This whole project cost me $31 and about two hours of my Saturday afternoon. That is less than a single store-bought shelf from a big box retailer. Plus, I got the exact size and finish I wanted. Here is a quick cost recap:
- Pine 2×8 board: $12
- L-brackets (2 pack): $4
- Wood screws and toggle bolts: $5
- Sandpaper pack: $3
- Small can
#DIYFloatingShelf #BudgetHomeDecor #BedroomMakeover #HomeDecorDIY #AffordableRoomMakeover
Leave a Comment